Showing posts with label canning. Show all posts

Monday, November 23, 2015

My Husband's Favorite Homemade Cranberry Sauce

Homemade Cranberry Sauce

You need:
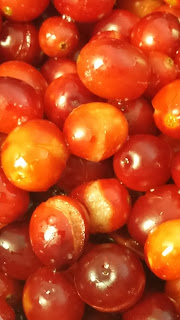
2 lbs cranberries
3 cups cranberry juice
3/4 cups orange juice
12 oz maple syrup ( not pancake syrup)
1 to 1 1/2 cups sugar (one cup until you taste the syrup and decide for yourself)

Rinse your berries. Remove any little sticks and bad berries. 

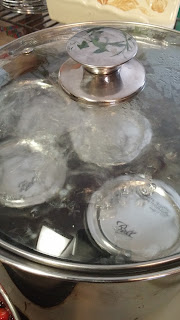
I also get the water bath canner ready now. Get the water hot. Make sure you have rack on the bottom of your water bath pan. I am using a smaller pot this time and I don't have a rack that fits so I am using canning lids. 

Have 5 sanitized pint jars ready.

Put all of the ingredients in a large pot. Ours is a less sweet recipe. You can take a quick taste of your liquid now and add the additional half cup of sugar now if you would like.


Put it on high heat and bring to a rapid rolling boil stirring constantly.
removing foam when making cranberry sauce


cranberries start to pop when making cranberry sauce
The berries will start popping while they split open. It needs to be a true rapid and rolling boil to start releasing the pectin from the berries. 

Turn the Heat down to medium low and simmer for 10 minutes. I use this time to skim some of the foam out. I am not that worried about the foam. If you are a perfectionist... There are a few ideas to get rid of almost all the foam here

To us is not important.
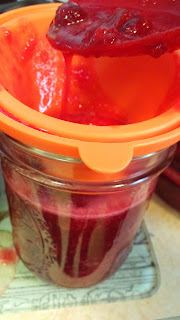
After the 10 minutes you start filling your point jars. This batch will fill 4 pints jars with just enough left over for a tasting. 
canning cranberry sauce

Put the point jars in your water bath. Make sure the water covers the jar, pot your plus on and raise the heat so the water boils.
waterbath canning homemade cranberry sauce

 Time for 15 minutes. After 15 minutes turn the heat off. Remove your jars and wait for those beautiful pings. 


Monday, May 26, 2014

Home made wild violet jellymade from flowers in the yard... easy and delicious

wild violet jelly home made
If you have sugar, a box of pectin and wild violets growing around your home... then you can make some delicious jelly. If you have canning jars... you can make it and have some on hand for the summer or as a sweet little gift for someone special.
wild violets perfect for making jelly


Gather about 3 cups of violets. Make sure you are collecting from a clean place where dogs don't pee and where chemicals are never sprayed. 
Put the violets in a heat proof jar or bowl or pan and cover them with 4 cups of boiling water and let them sit covered over night. You will notice a beautiful blue  color and the flowers will eventually go pale almost to white.
it turns such a beautiful blue while it's steeping


The next morning you strain your violet water through a coffee filter and then  heat your strained violet water with 3 tablespoons of lemon juice and one box of pectin. Watch when you put the lemon juice in because the water turns back to violet. Science. Cool. Bring this to a boil.

strain the violet water through a coffee filter in a funnel.


you're turning violet, violet!

Once it boils add 3 to 3 1/2 cups of sugar in and whisk it while bringing it back to a boil. Let it boil for 2 full minutes. I use a timer only because I will lose track and ruin it.
Fill half pint jars with your violet jelly to a half inch from the rim. I get 5 half pints and a bit for breakfast from this recipe.
Water bath the jars for 15 mins you are done.
I love to let children help with picking the flowers because it makes them feel like they own this jelly and its fun to watch their first bite on a bit of toast.
I am also assuming you understand how to water bath canned food. If you are not, please take caution and learn how to do that part first. Canning and food safety is nothing to mess with.
water bath for the wild violet jelly


This Jelly is delicious on home made english muffins, too... click here.

Sunday, August 25, 2013

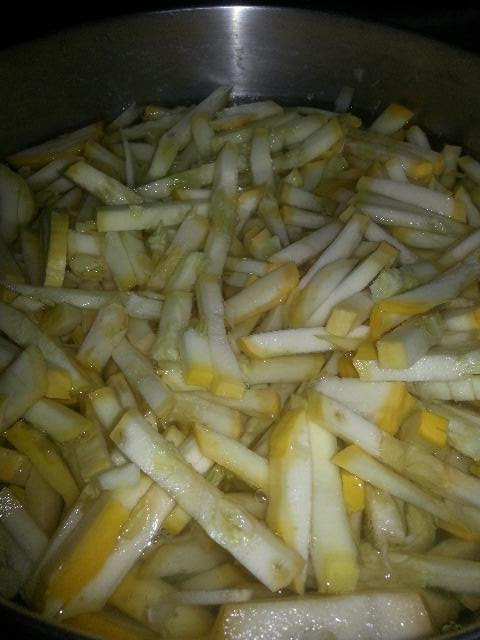
Canning summer squash and zucchini

I have never had summer squash. And to my knowledge I don't  like zucchini. But I was at a family reunion and my uncle gave me a basket filled with both. And now I will love them. This will be my first things that I canned that I didn't pay for since I didn't have a garden this summer . I am mega excited because so far canning has been expensive. Buying a pressure cooker and a water bath canner  and many jars has cost a pretty penny . Plus I have purchased every ingredient for each recipe that I found and was excited to try. The purist in me who wants healthy food for my family likes. The trying-to-be-a-homesteader does not.
So I jumped on Google while I was in the city and had internet and searched for canning summer squash. I choose to follow Canning Granny's recipe. There seems to be a little bit of controversy over canning summer squash and zucchini. Like every blogger out there... I am NOT making any recommendations or suggesting anything is safe. I am simply telling you what I chose to do and I trust Canning Granny's recipes.
There are a few blogs out there with a few techniques for doing this. Each one is followed by a panicked post from a reader saying that its not smart to can these items.
Canning Granny also included a few recipes to try which I am going to do this winter. And I will be making zucchini bread. I imagine we will love it since it came from my uncles garden and was canned at home.
Summer Squash (left) and zucchini (right)